Hacker Graduation Cap
Project Overview
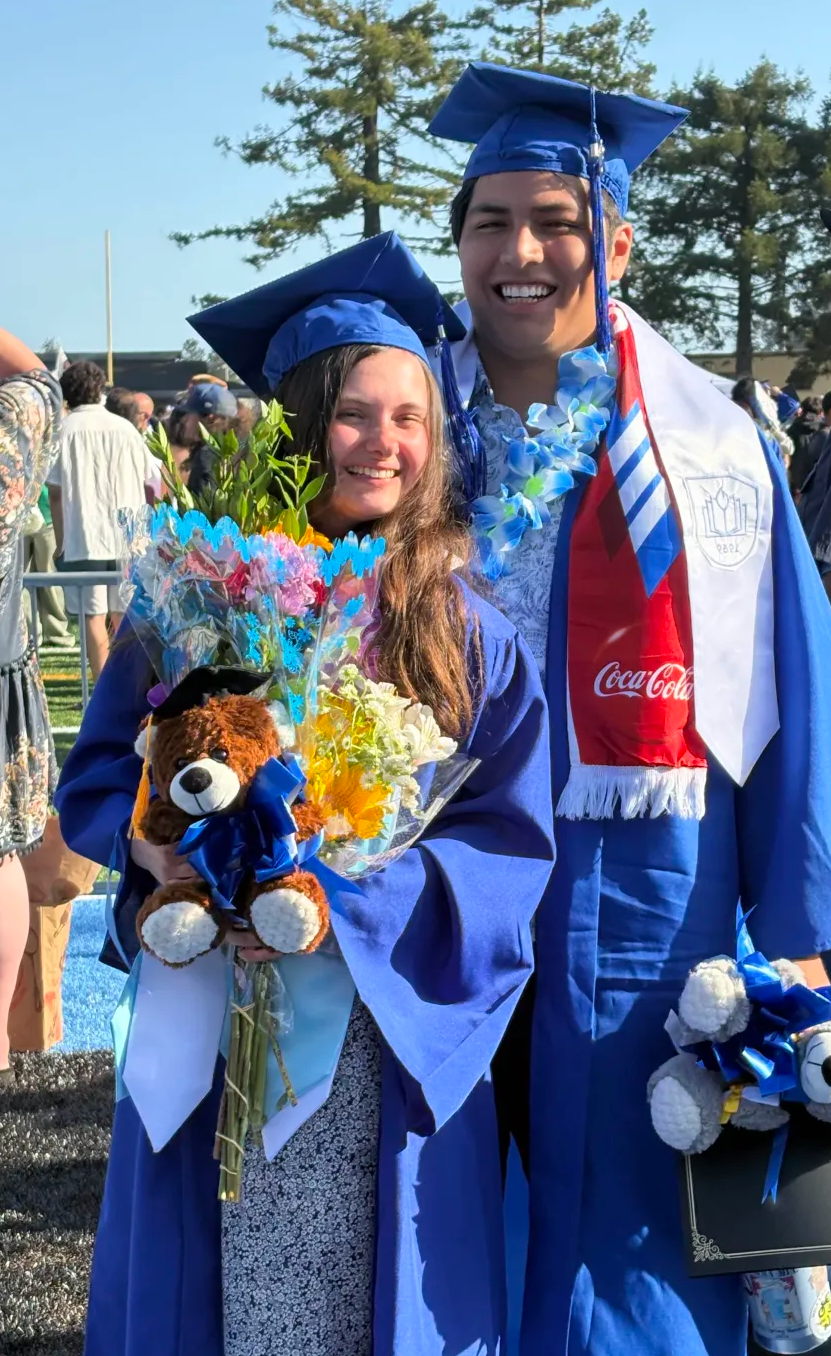
This project started around four days or so before I was set to walk at my graduation from Cabrillo College. My mom saw me trying on my gown and cap and she asked me: “Are you going to decorate it?”, which I had already decided against. I liked the minimal look, and I was planning on wearing some sashes and a lei anyway, which I told her. She responded: “Why don’t you make something with tech?”
These seven simple words got me thinking: “Why don’t I make something with wearable tech? My entire time at Cabrillo has been very tech and cybersecurity oriented. Why don’t I make a project that embodies that?”

I started thinking about decorating my cap, which led to my first ideas: I had an Arduino and ESP32 and some 16x2 LCD matrix screens hanging around. While I knew the ESP32 had the capabilities to broadcast an access point, and could control the screens, I wasn’t sure how to tie it all together on the cap. I finally realized that a lot of people will be on their phones at the graduation (long speeches, hundreds of names being called, lots of waiting for your brief moment on stage– I can understand why, especially with the short attention span of modern young adults, a lot of people would be on their phones instead of paying attention). What does everyone in the middle of a football field with bad reception love to see on their phones? Free Wi-Fi. The project had already started to form in my mind.
The Working Concept
So my final working concept was this: on my graduation cap, I would have two LCD screens opposite each other. They would be broadcasting congratulatory scrolling messages on repeat to anyone who could see my cap. Additionally, the ESP32 would be broadcasting an SSID named “Graduation Cap Wi-Fi”. Now, because of the lack of authentication, many curious and bored students would likely connect to it, which upon doing, immediately pops up a captive portal. Most captive portals ask for credentials, or to accept the terms and conditions before connecting to the website, but not this one. The captive portal simply asks: “What’s been a highlight for you from your time at Cabrillo?” and then compiles them on the “Highlight Wall” page.
A couple of quick notes: I thought about making it so the highlights could dynamically be added to the scrolling LCD’s messages, but I figured the anonymous nature of a message board tends to attract the worst in peoples’ inner self-expression. In other words, I was preparing for the fact that not all messages would be uplifting. To counter this, I considered having a feature where I could actively approve any incoming messages to either be displayed or not, but I didn’t want to be the student on my phone the whole time. Additionally, I considered active word filtering to automate approval based on message content, but frankly, people are creative and there would be no time to create a 100% foolproof word filter. Instead I opted to just have a list of predetermined, safe-to-wear messages on the LCDs and the ‘highlight wall’ part of the web app could be a free-for-all.
Build time
I immediately divided the project into two halves. The script + physical cabling that runs and controls the LCD messages, and the web app + Wi-Fi Access Point.
Message Code + Physical Cabling
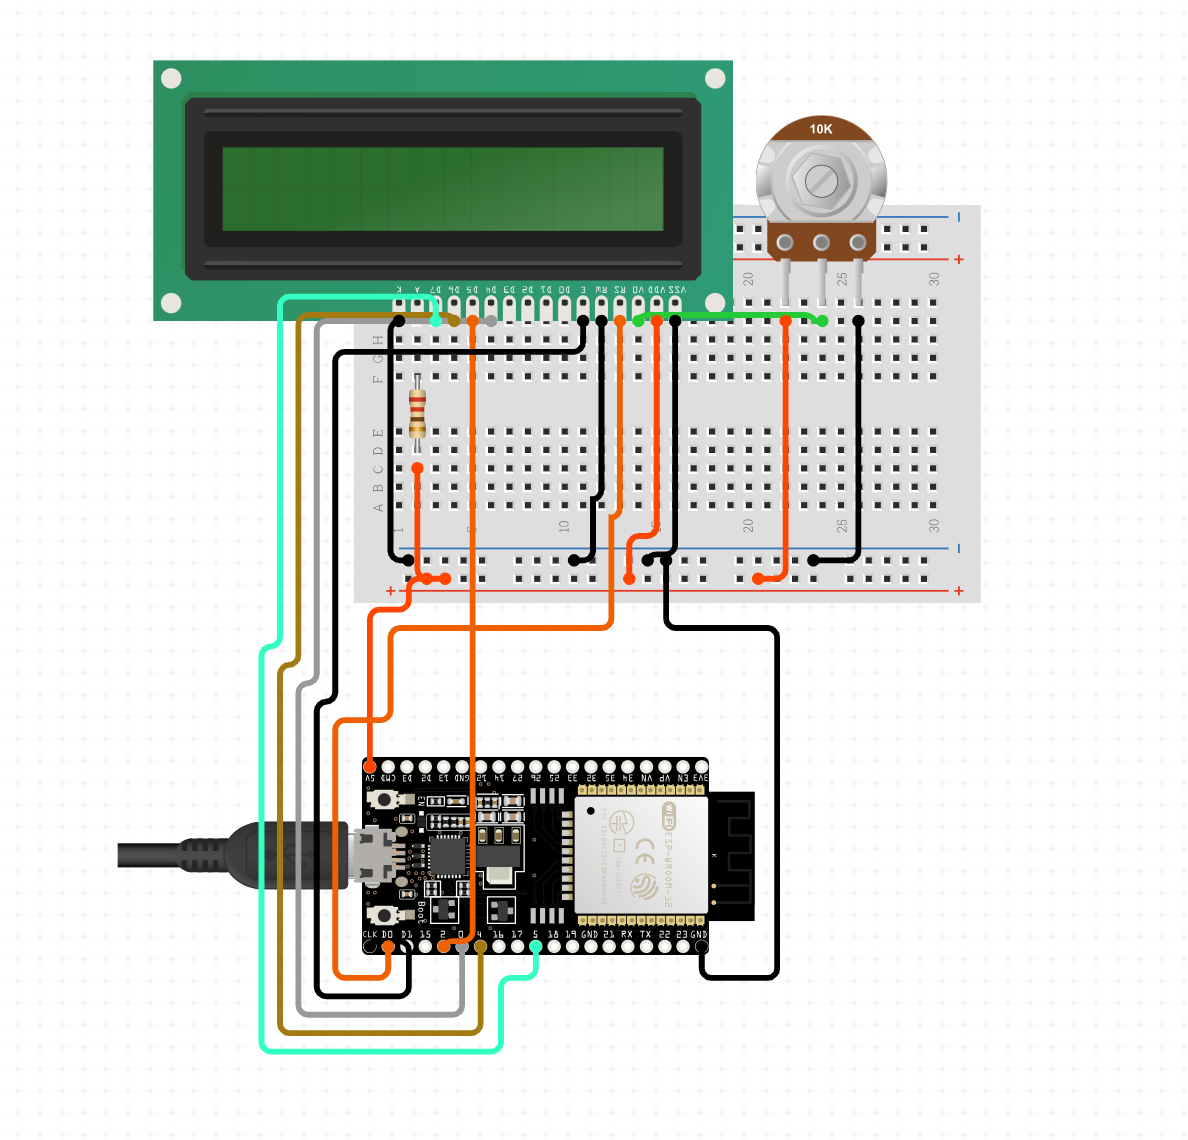
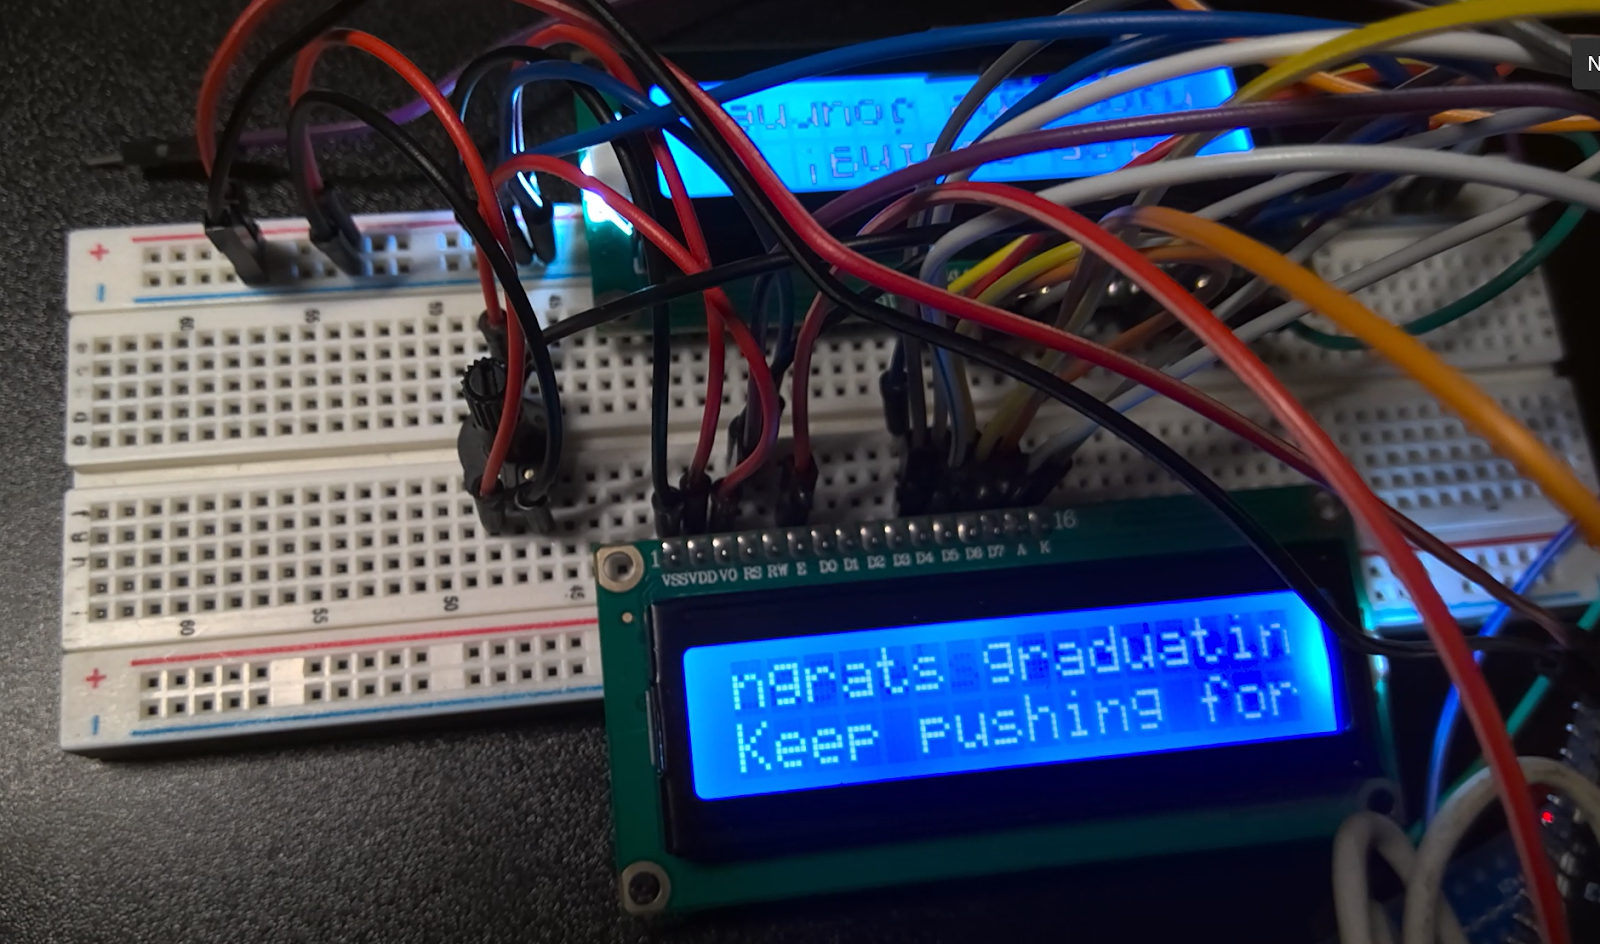
The idea to have two LCD screens was to have one in the front and one in the back of the cap, each with the same message being shown. It was not overly difficult to wire up the LCD screens, since I used the rails of the breadboard to connect the LCDs identically, taking up half the pin space on the ESP32. Eventually, I evolved the script to include individual transmissions for each LCD, drawing from the same bank of messages, such as “Congrats Graduates” or “CS404 for life”.
Side note, if you're new here, click here to read about CS404
The largest setback I reached on this project was that my FTDI to USB adapter for programming the ESP32 was very selective about when it chose to work, and I even tried using Arduino as a Serial connector, but that didn’t work well either. Another thing that took a while to get correct was putting GPIO0 to ground as a reset, and timing it after booting it (you have to reboot the ESP32-CAM each time you wanted to reflash it). I tried changing the baud rate, changing the ESP32’s flash mode (dio vs qio), making sure the ground connection was good, and even installing different drivers for the FTDI programmer, and swapping the physical ESP32 for another that I had laying around. Eventually, after going through the checklist for everything that could go wrong, I realized that the jumper on the FTDI was on the wrong pins. Just like any good project, the victory was short lived before running into more bugs. A couple of filesystem issues, source code for libraries not installing correctly, and my personal favorite- the ESP32 got stuck in a crash loop that blinded me with its LED camera flash every few seconds. I Guess I know what it’s like to have paparazzi now.
Web App + Wi-Fi Access Point
The first step in this process was to get the ESP32 to broadcast an SSID. The ESP32 has three standard Wi-Fi modes- Station mode (STA), AP mode (access point), and AP + STA mode (it also has ESP-NOW, which is a connectionless protocol meant to send small messages between ESP boards, but it’s not relevant for this project). Station mode means the esp32 acts as a client, AP mode means the ESP32 creates its own Wi-Fi network, allowing other devices to connect to it and AP + STA mode means the ESP32 functions as both a client and an access point, enabling complex networking setups. For the sake of this project, I really only needed AP mode, although I could see some future developments of the project using AP + STA mode.
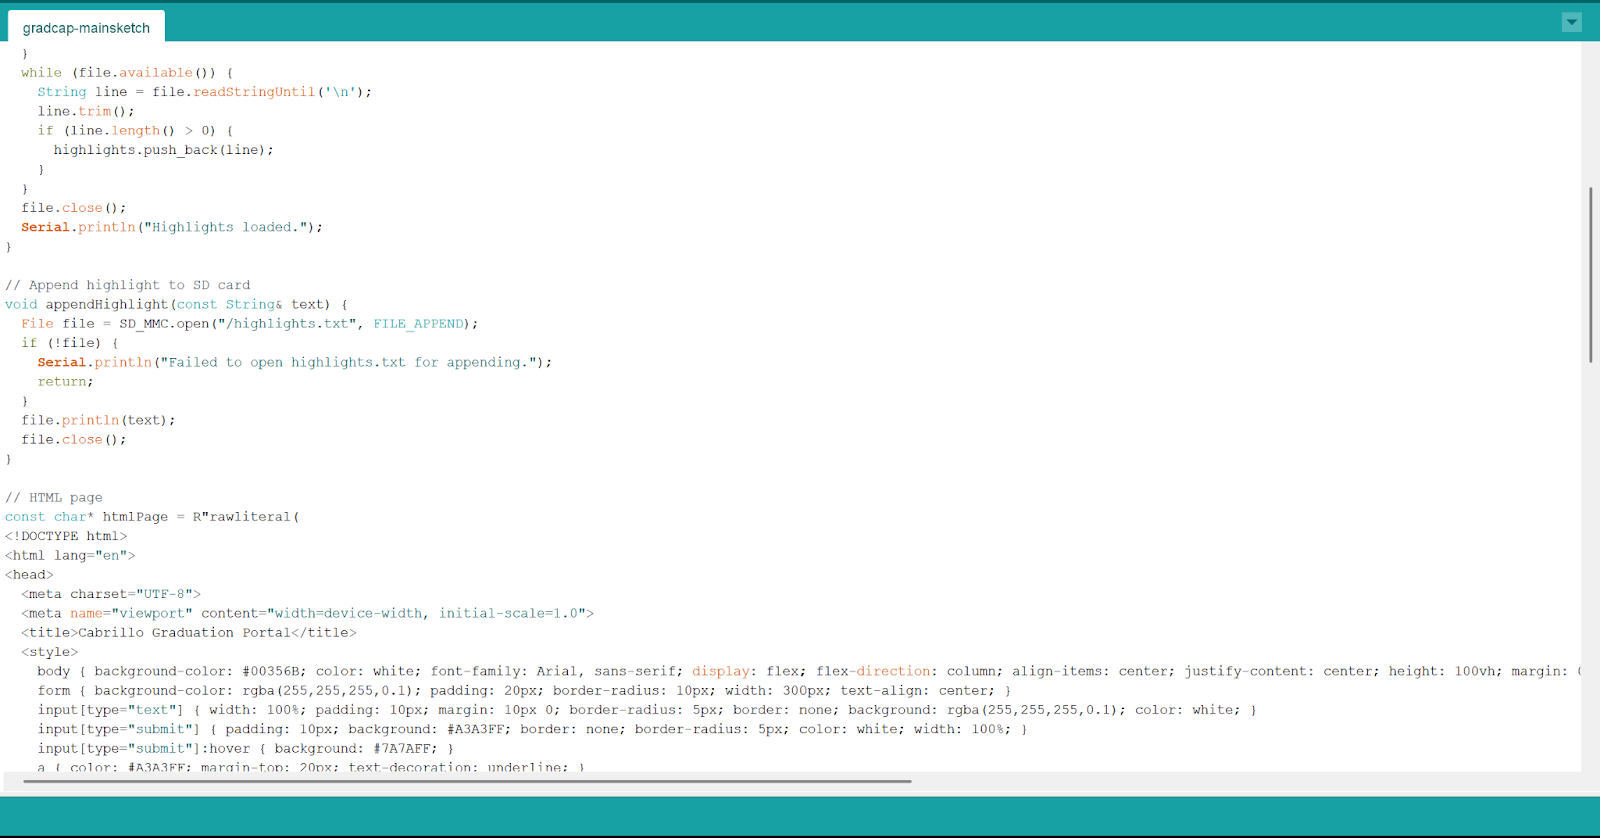
I whipped up a quick HTML page, and used the

The next problem was storage–if the ESP32 isn’t connected to a cloud service, I needed user input to be stored locally, and then served on the webserver. The original script used the ESP32’s RAM, but that is extremely limited (520KB), and I wanted highlights to be persistent across resets, so I could read them after the ceremony and celebratory family and friends dinner was over. I switched from the ESP32-WROOM-32 I was using for testing to an ESP32 - CAM, which comes with a built-in SD card slot, making memory no longer an issue. The next problem was that the ESPAsyncWebServer library I was using struggled against multiple TCP connections because it uses lwIP (lightweight IP), and wasn’t handling the TCP/IP stack correctly in AP mode. I didn’t know this at the time but the author, Hristo Gochkov, knew about this issue and made a fork to address this exact issue. At the time, I just switched libraries into WebServer.h. After fixing some compiling issues, I got the script where I wanted it. Next, I had to make sure that the captive portal opened with no extra steps, so that each student would automatically see the page after connecting. The problem is that there is no way to force either Android or Apple phones to open a page in a browser after connecting to Wi-Fi (or so I thought). Both operating systems automatically look for certain domains or a login page to identify captive portals. To increase our chances of getting our web app opened automatically, I figured I could add requests to those endpoints (/captive-portal, /redirect, /generate_204, etc), until ChatGPT informed me of another method- Captive DNS redirection. The way that this works is basically intercepting all DNS traffic from unauthenticated users and returning the captive webserver’s IP (which in this case is the same as the router’s IP address, but it still forces a traffic redirect). This method still doesn’t work on all phones (especially newer iPhones), but it still increases our chances. This works because some operating systems detect captive portals by requesting a specific URL, and ESP32 may intercept those requests and redirect them to my portal page. After some more tweaking and fine-tuning (including fixing a bug that made the ESP32 indicator light flash on at any time the server was interacted with), I managed to make the script work exactly as intended.
Project Limitations & The Cold Hard Truth
I mentioned earlier that I had divided the project into two parts. There was a third half, which was equally important- assembling the working prototype into a form factor that was wearable for the big day. Ideally the final product would be visually appealing to wear, safe, and secure enough to survive potentially being thrown in the air. The third part of the project, unfortunately, did not come to fruition quite as I had hoped.

While working on this project, I developed tunnel vision. The project was all I thought about for those four days leading up to graduation. I had already turned in all my schoolwork, and finished all my finals. The last week of school was free, which encouraged optimism about completing the project in time. However, as you’ve already read, this project (like many others) required a lot of small moving bits, working together in tandem. It was the day of Graduation, and I was still soldering the components to a circuit board, and attaching the circuit board to the cap. While the software and individual hardware components were functional, the final integration phase proved to be the most time-constrained, leaving little room for iteration. Around that point, I had experienced the two quintessential eleventh-hour epiphanies.
1. My desk is too small. It doesn’t matter how big it is, it’s always too small. And secondly, the realization that hit me harder:
It was impossible to finish on time– there was no time left. I was less than a few hours away from the start of the ceremony, and I still had to change, drive over, park, check in, and do all of the graduate things. As unfortunate as it was, I realized that I had to cut my losses, and focus on actually attending my graduation. It was a bittersweet moment, because I was proud to have overcome all the small obstacles and created a working version of my vision, only to be robbed of using it for its ultimate purpose by the clock running out. Ultimately, I’m glad that I took on this project, even if the project reached a functional but not fully wearable state by graduation day. I learned a lot from this project, and it kept me occupied until right before it was time to go to the ceremony. While I wish my mom would have asked me about cap decorating sooner, I know that I gave the project 100% effort, even with such a limited deadline- which, at the end of the day, is something to feel good about.